- Messages
- 437
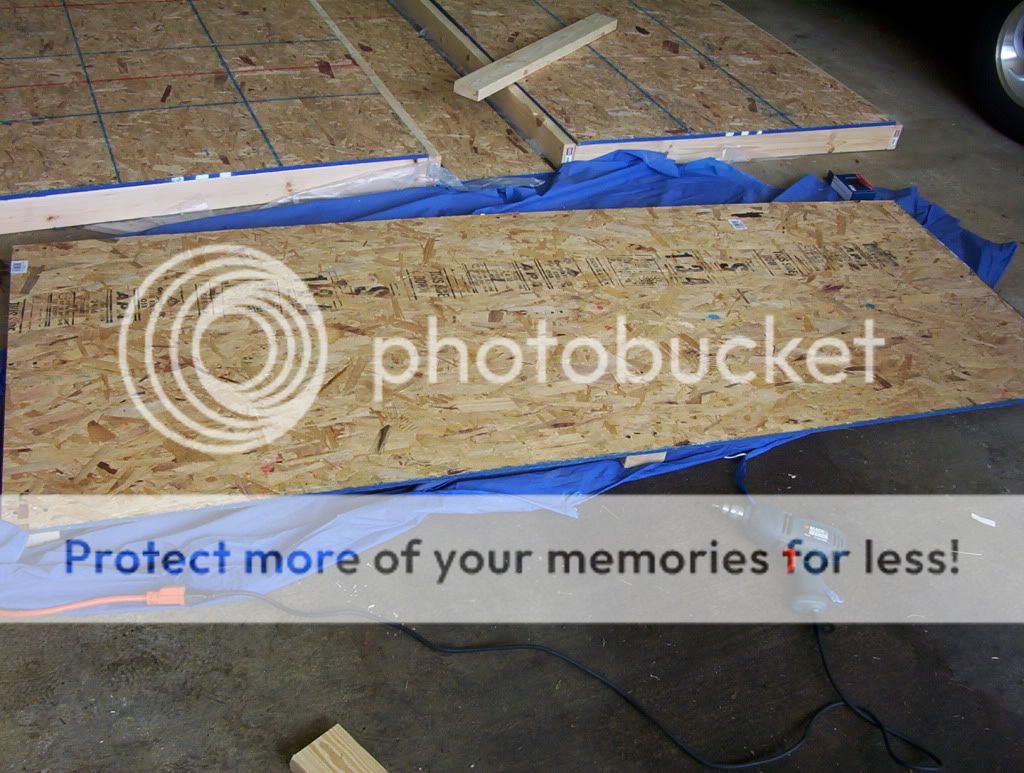
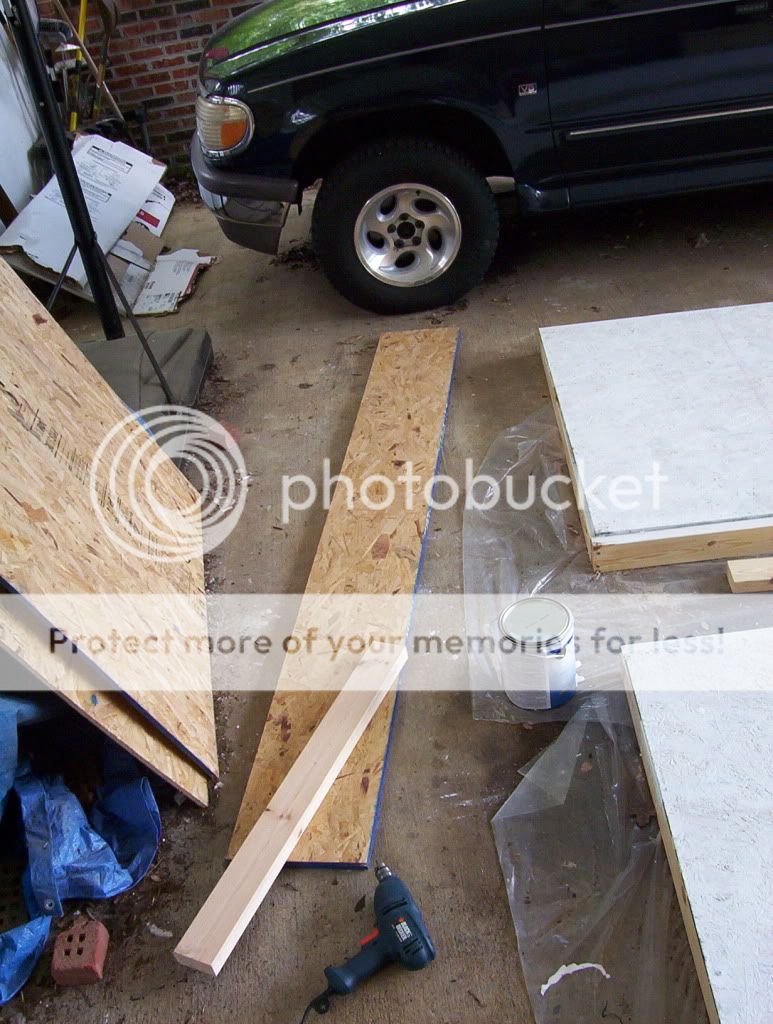
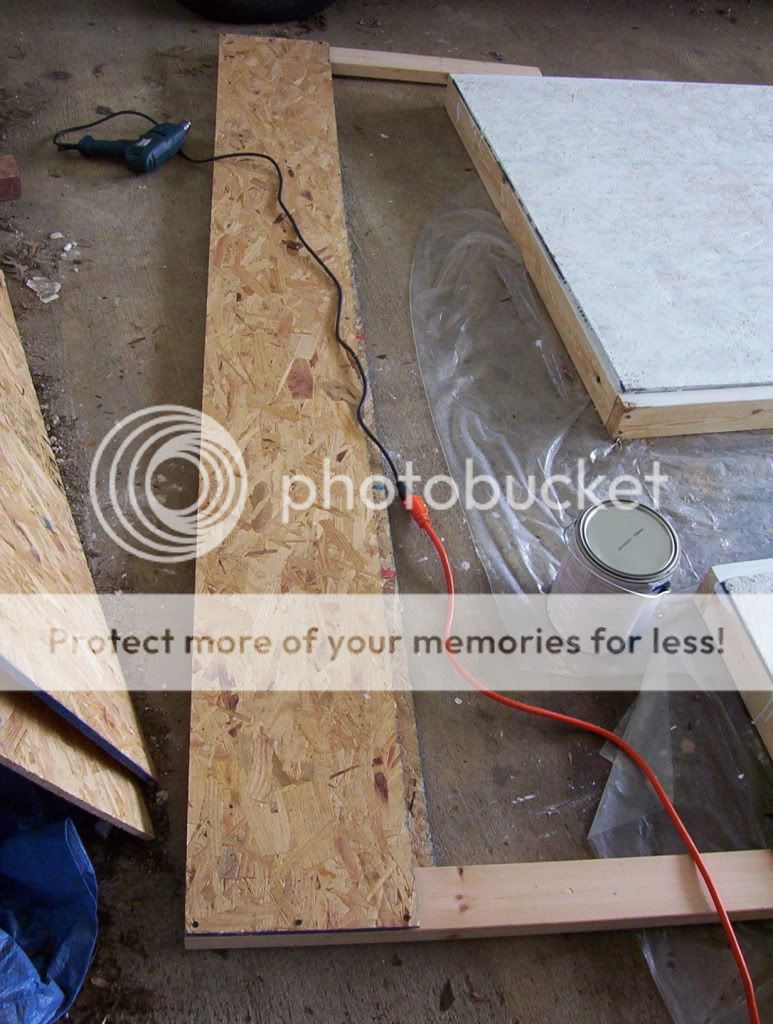
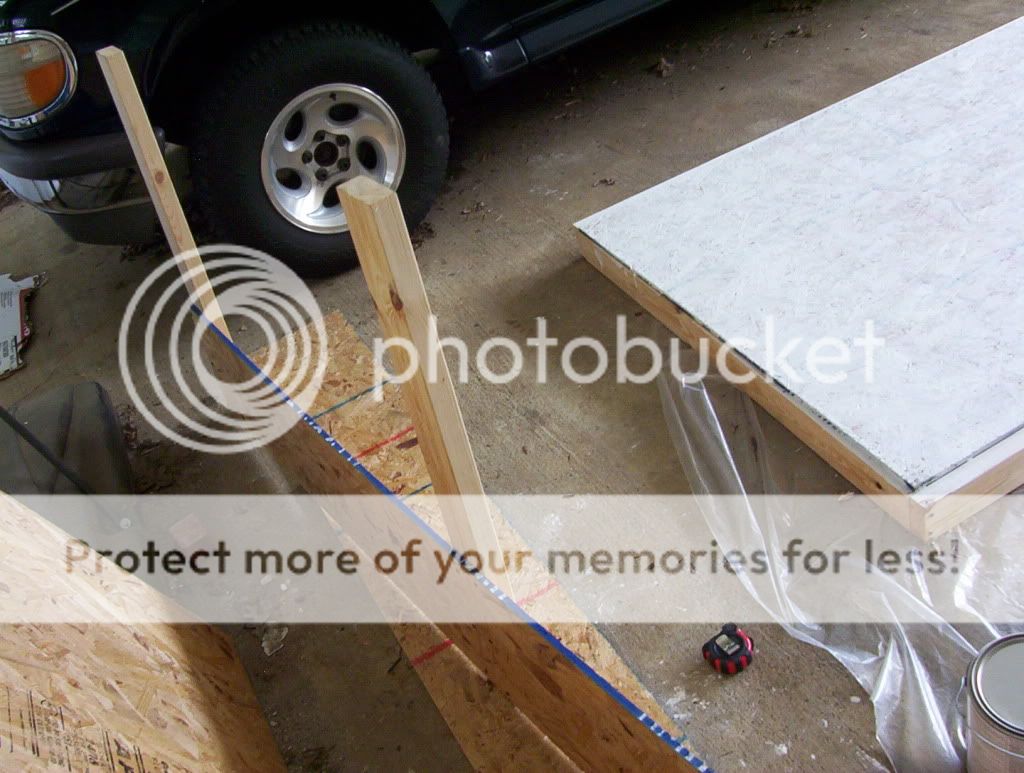
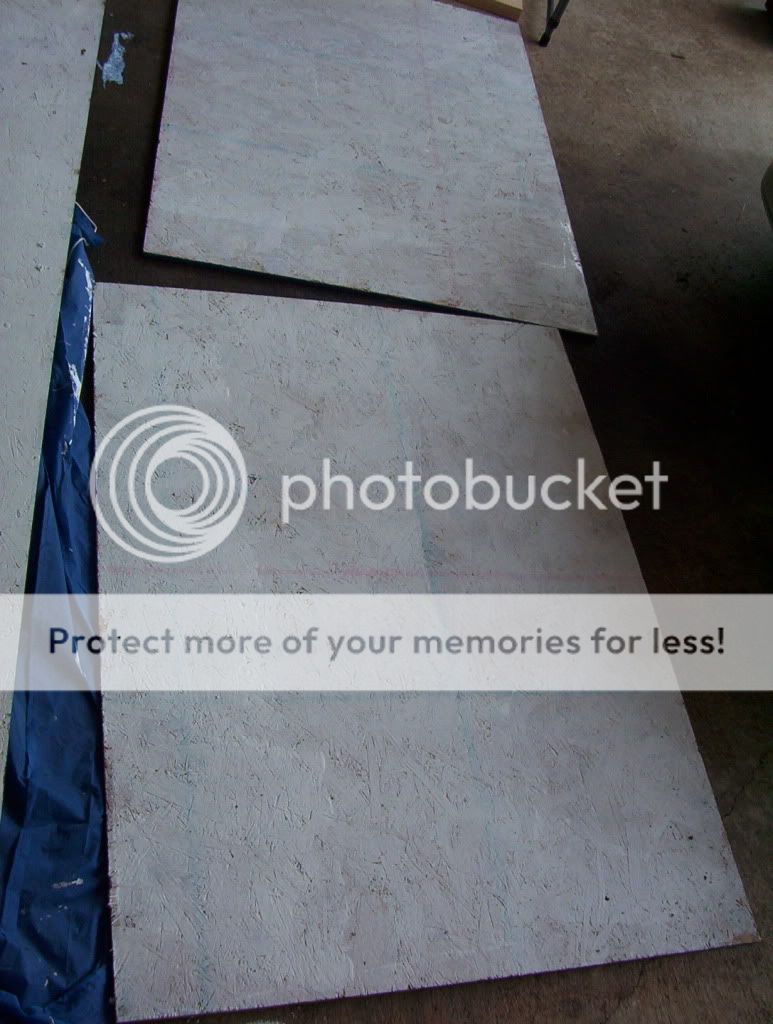
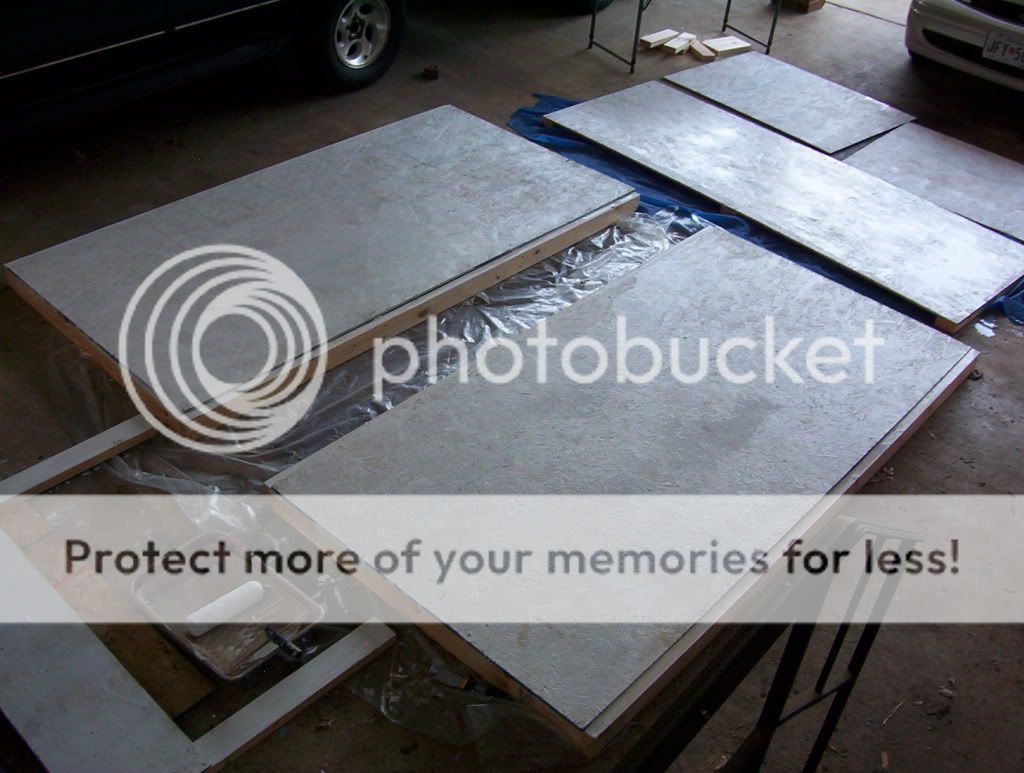
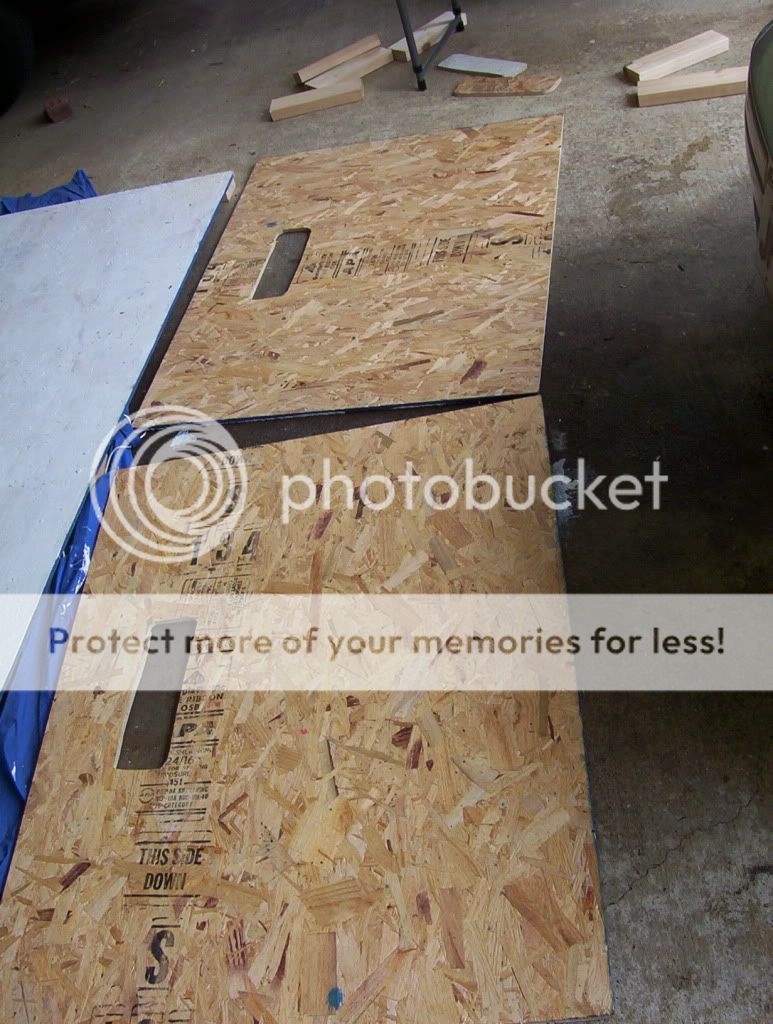
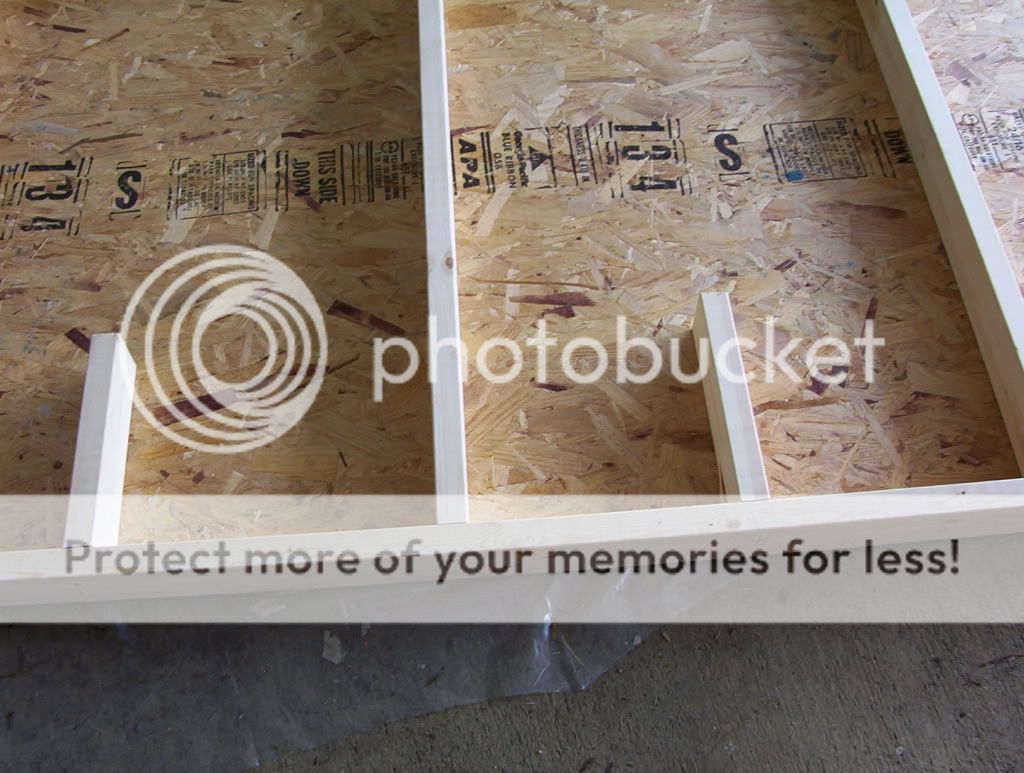
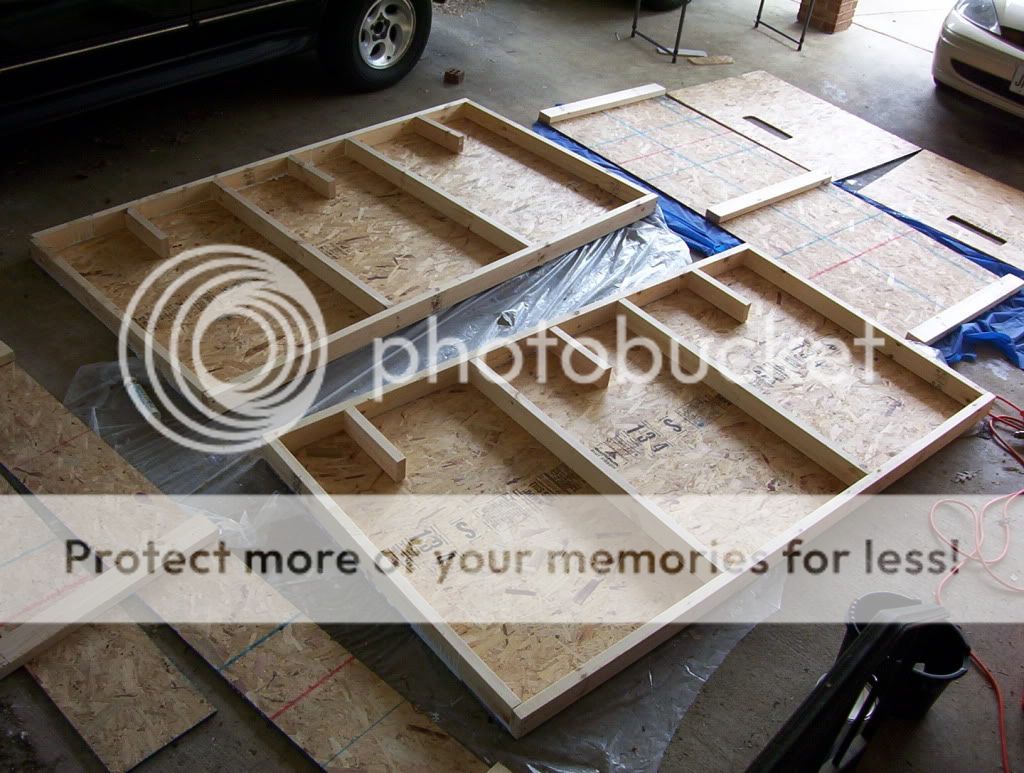
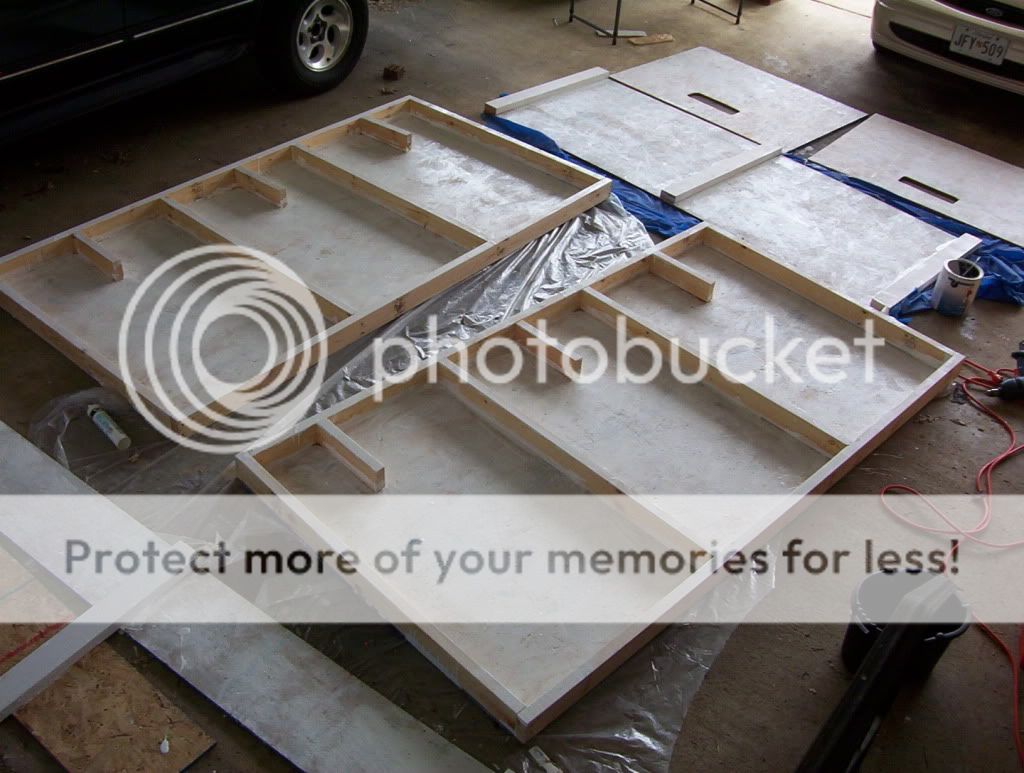
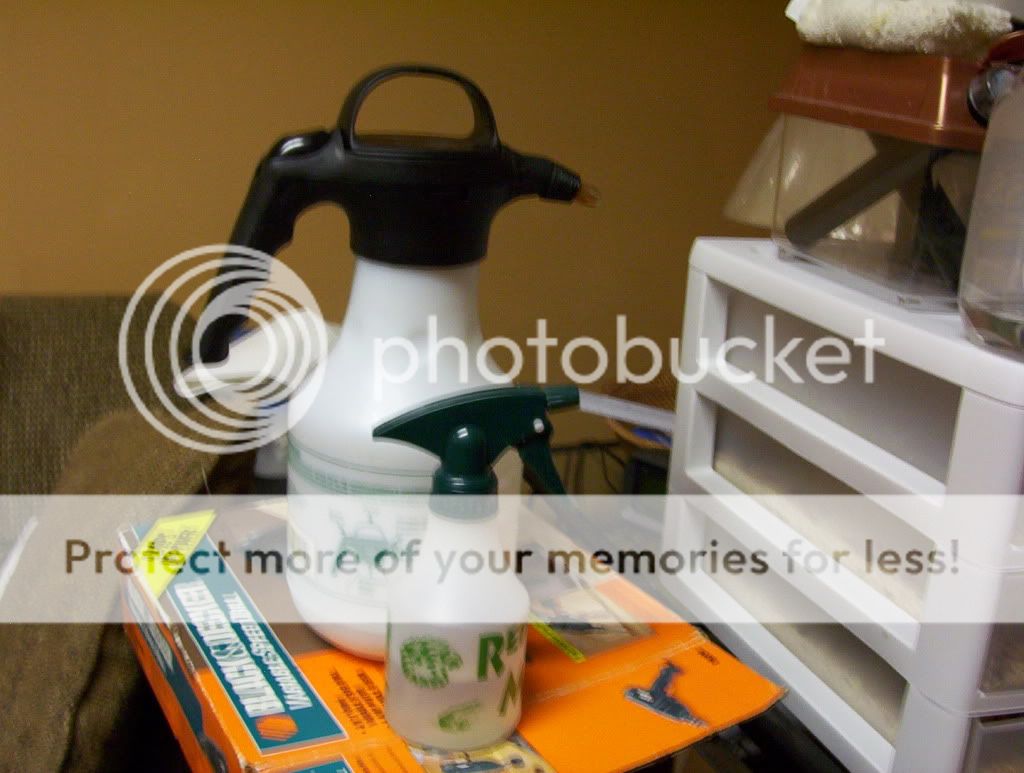
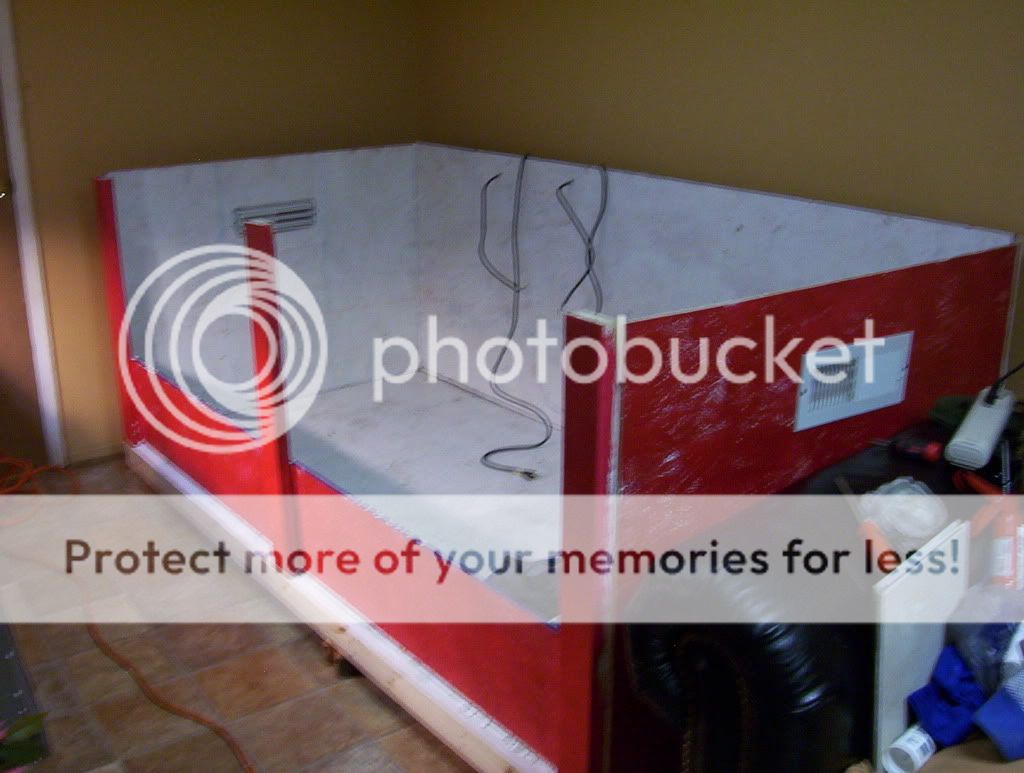
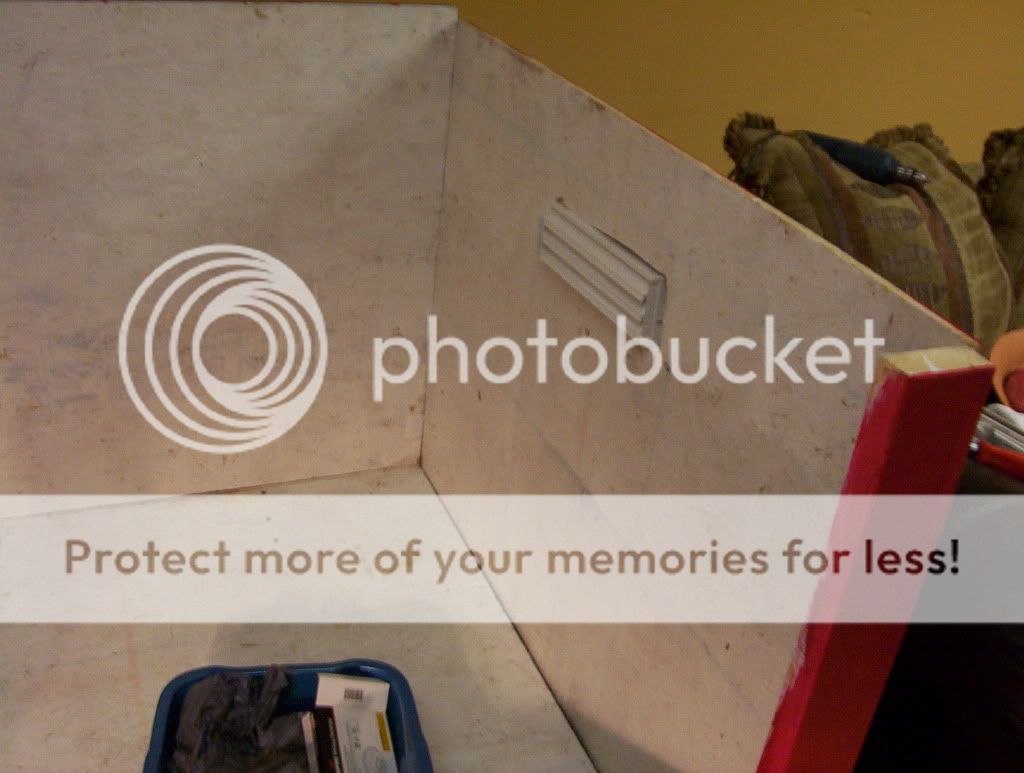
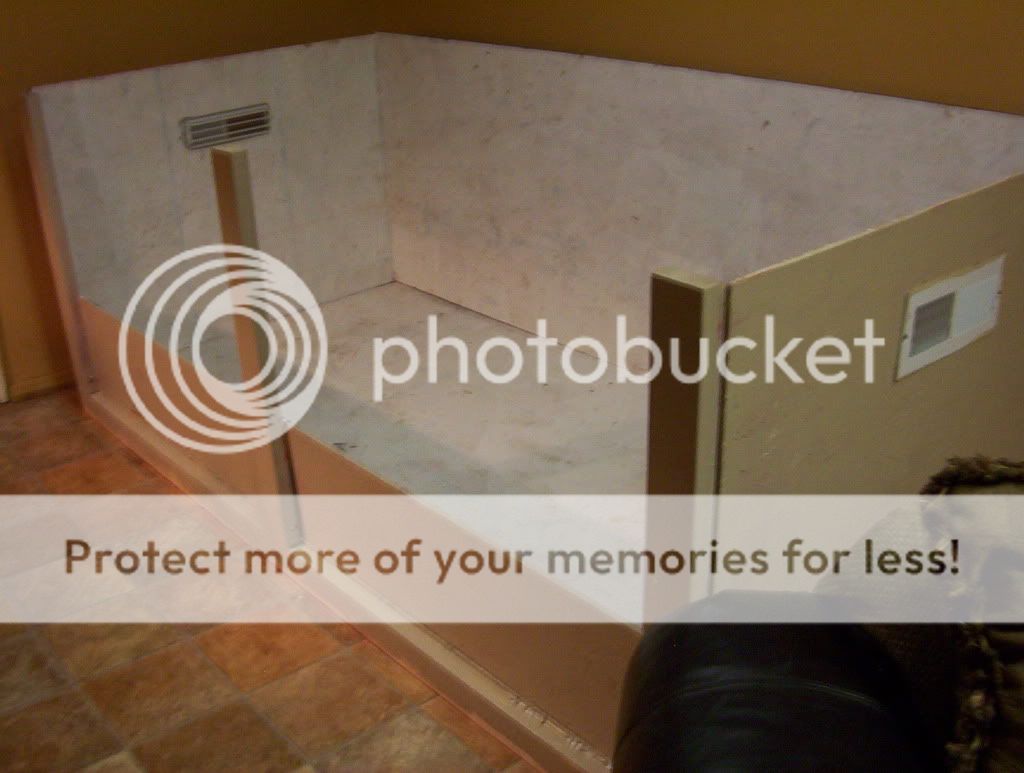
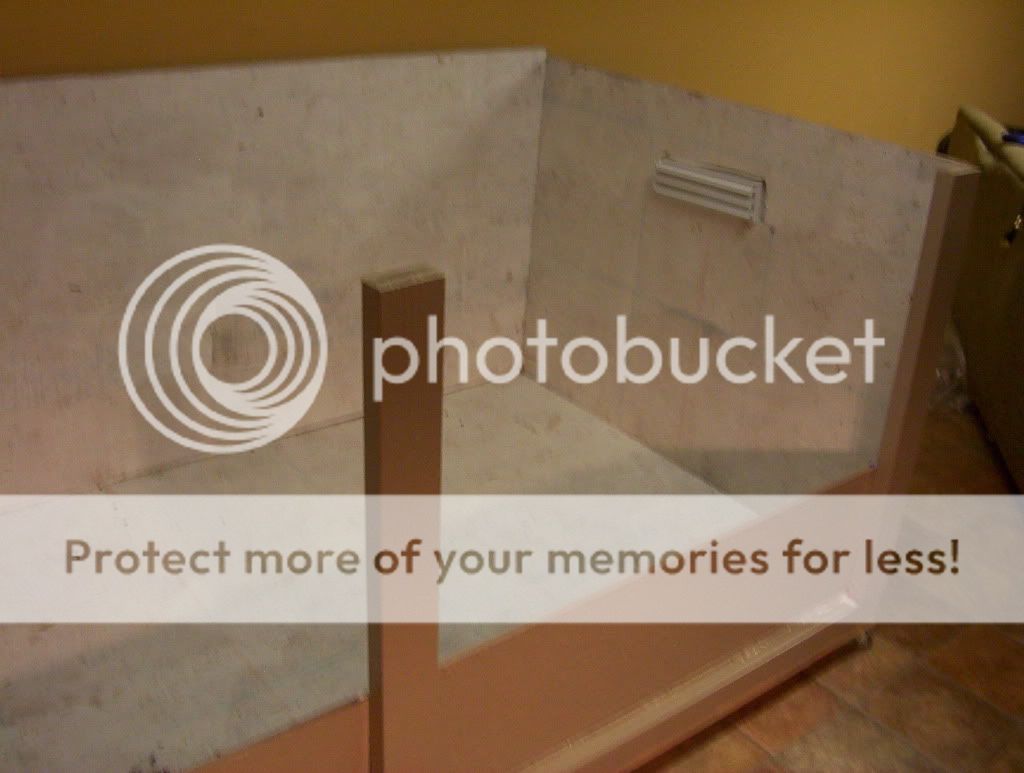
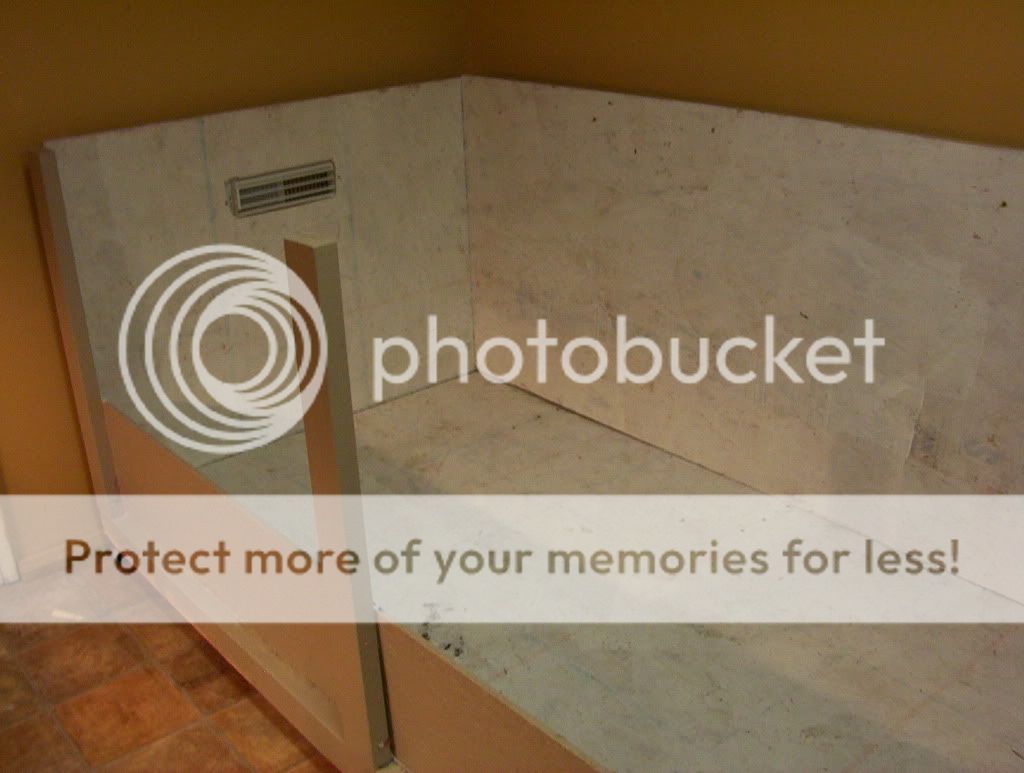
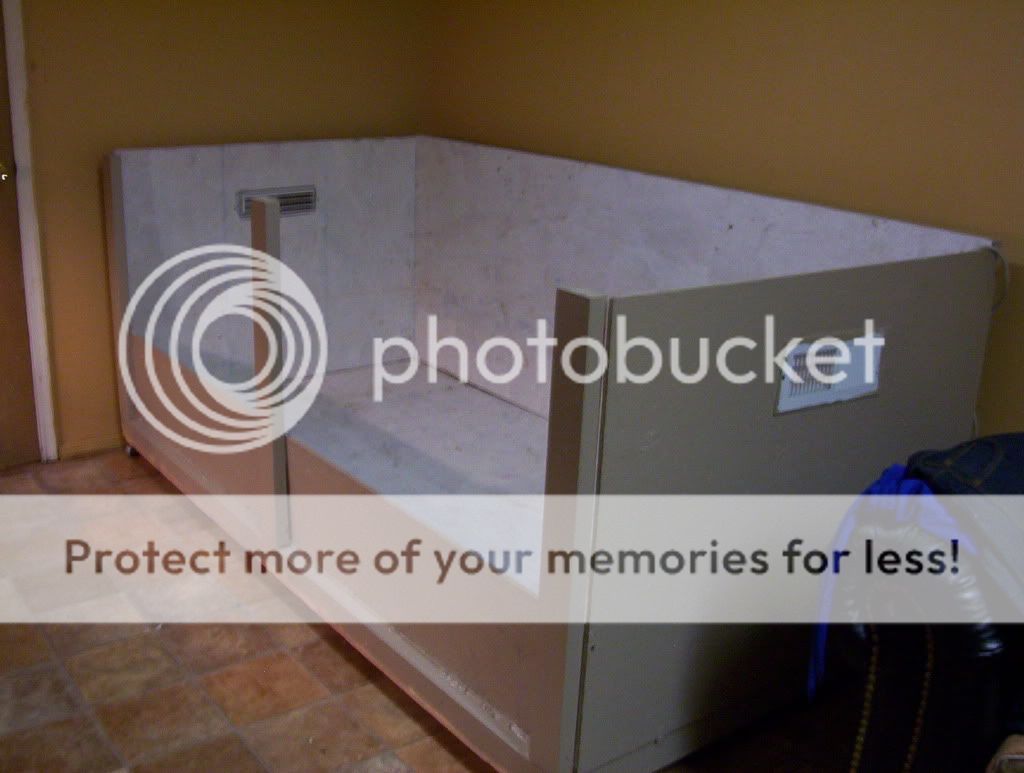
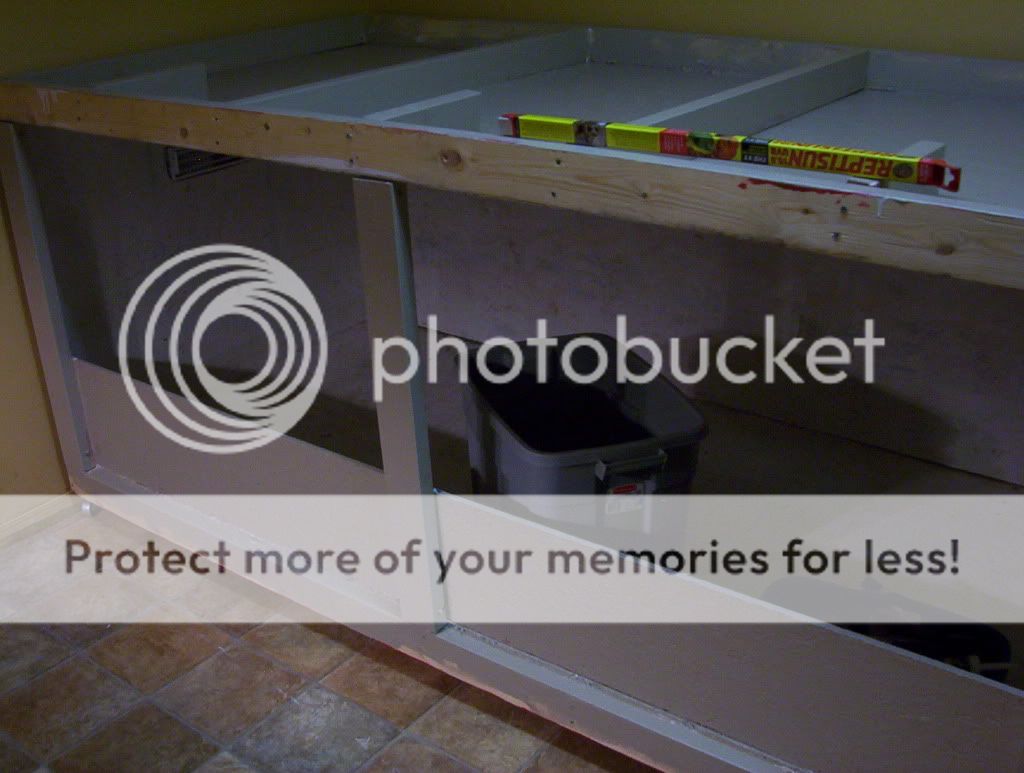
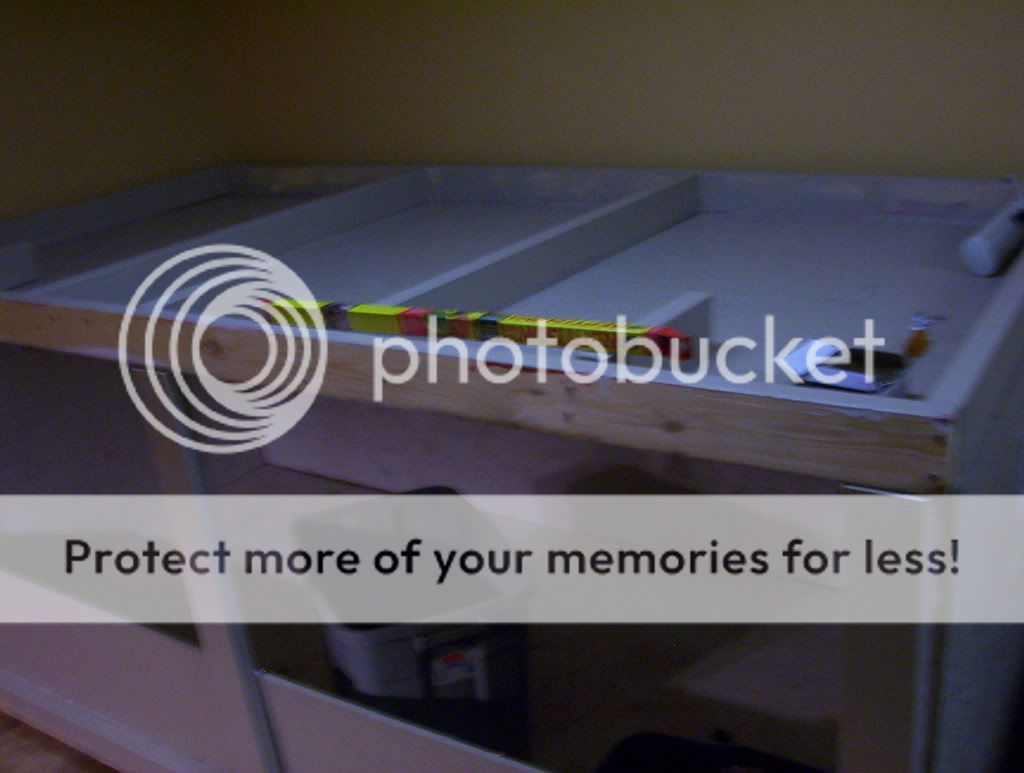
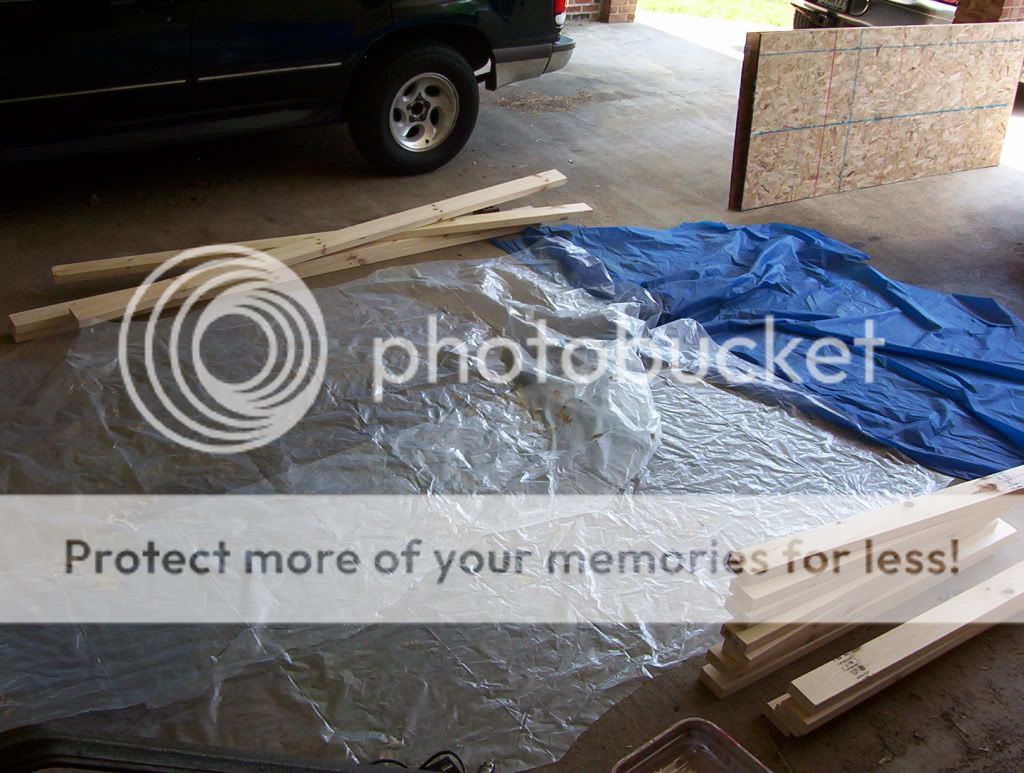
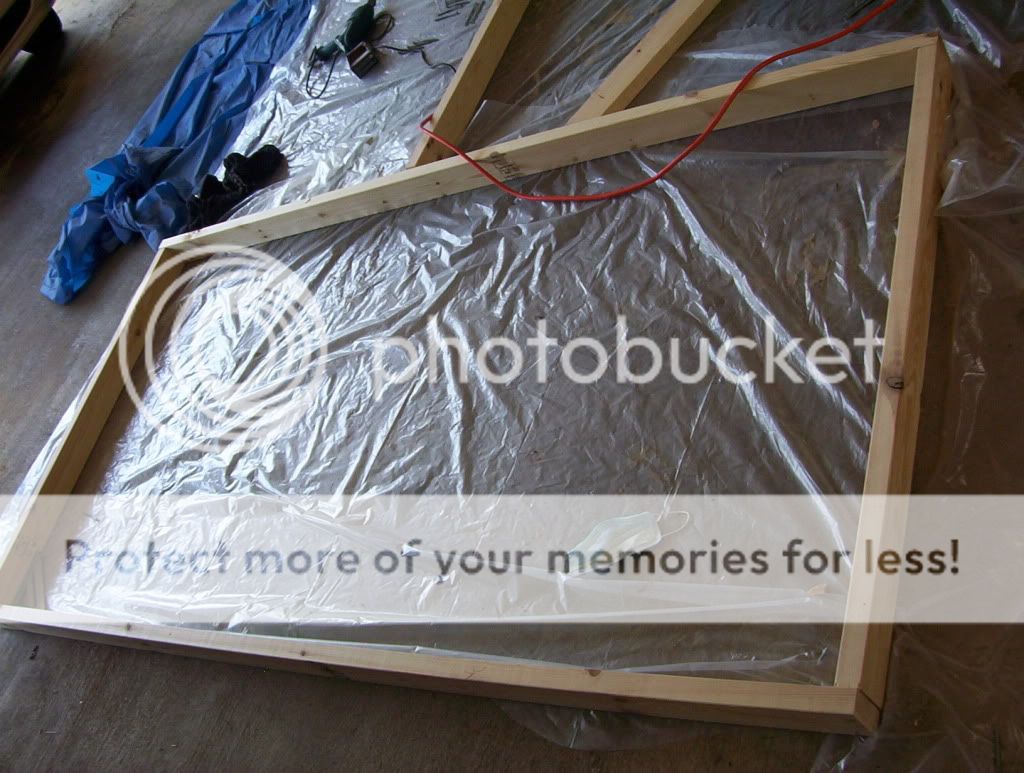
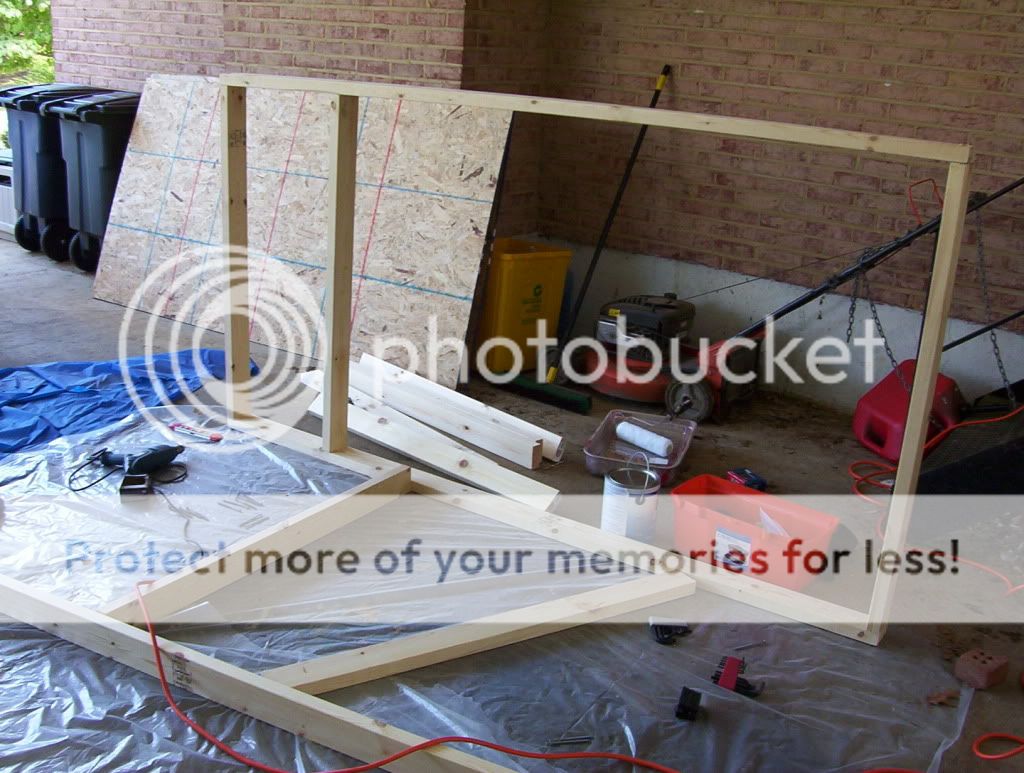
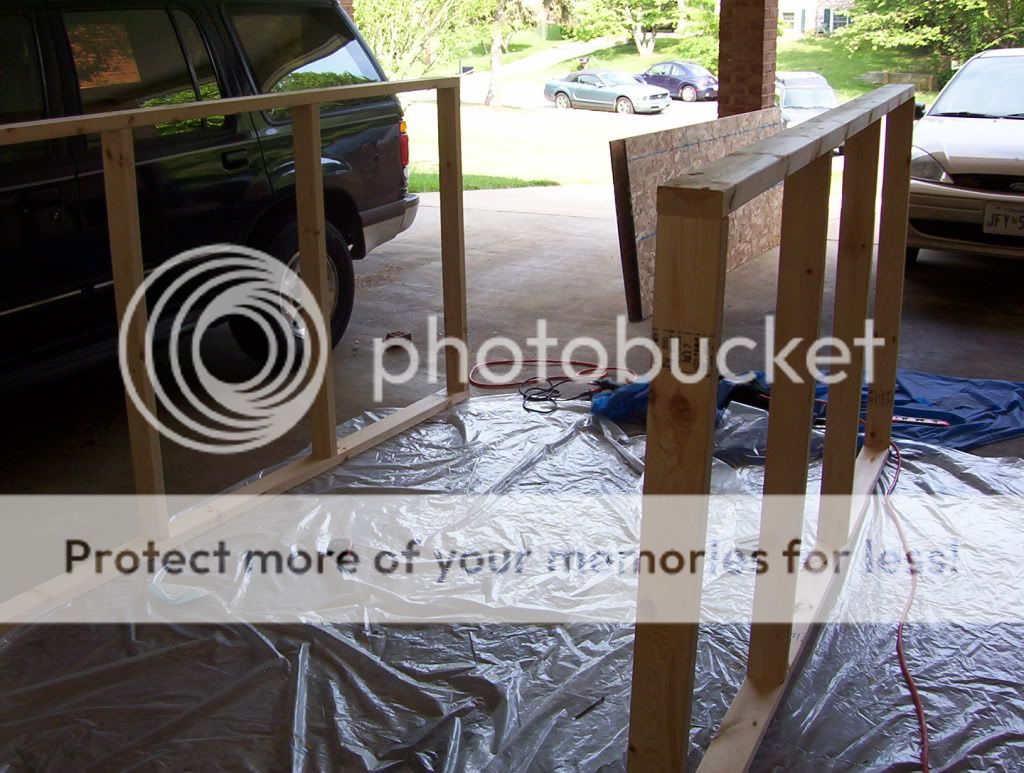
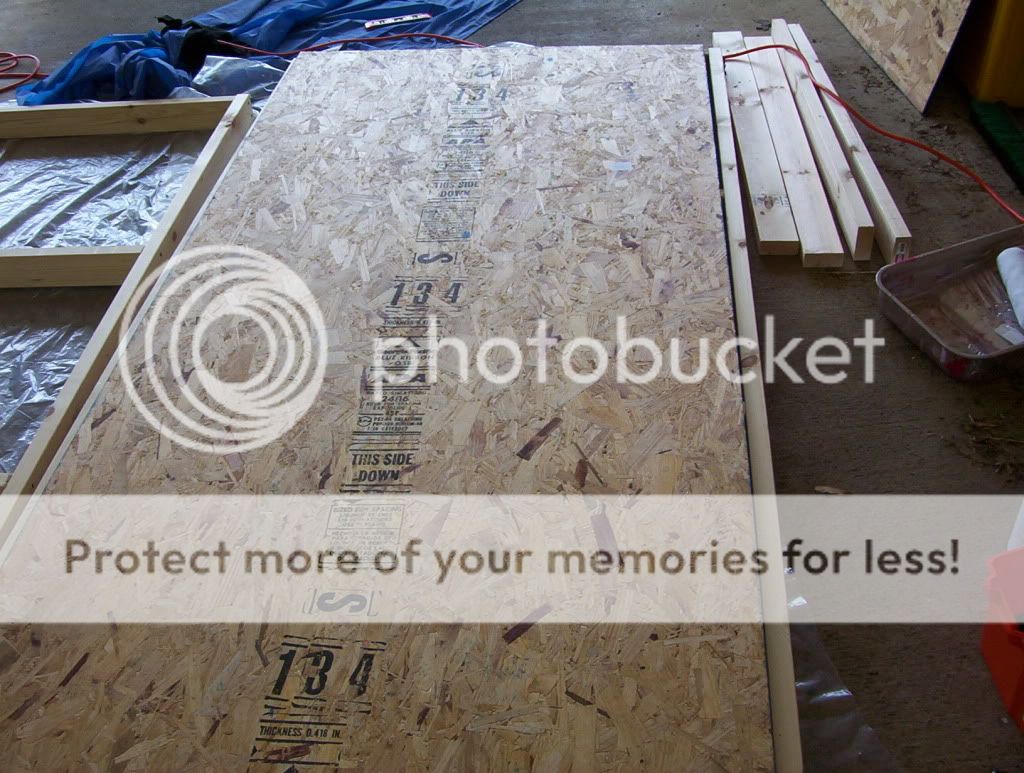
Well the time has come. When I got riley in his 40b(35"x18") enclosure he was a little more than 12in. Now at just over 24in he has officially outgrown his cage. So I will be building his 8x4 now(atleast most of it). I went to lowes yesterday and today to gather most of his supplies. I am still missing some things, but we will get to that later. Now today was grueling and I learned alot. I had to do the hardest part which was build the roof and floor. Since my room is in the basement I can't apply paint down there. So I must paint the cage outside and then assemple it inside. So today I basically built the floor and roof frame and put plywood on it. Easy enough right?...
I will be refering to the pieces as numbers to make things easier for me. They will be as followed.
(1)Floor
(2)roof/top
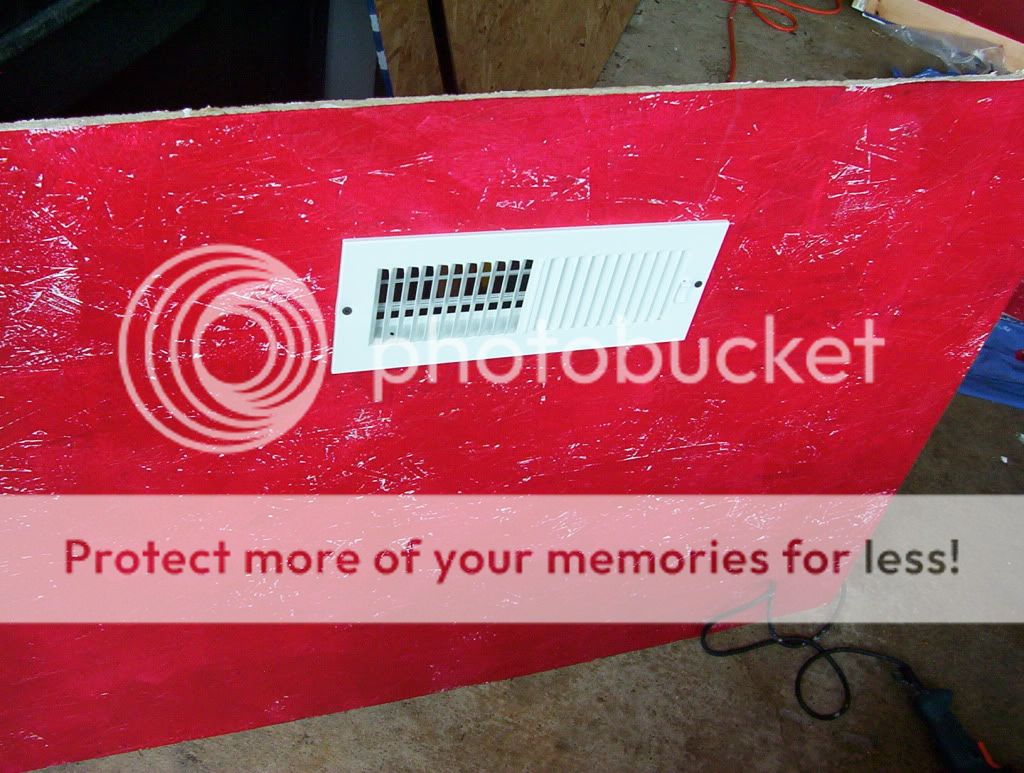
(3)back panel
(4)front panel
(5)left side panel
(6)right side panel
Please ask any questions and leave any advice. This is my first time doing this so I need the help.
Now for the picture


A couple things I learned today...
1. Take weather into account
I was working at about mid day which was exausting(hot!). Don't kill yourself and work in the mornings and evenings.
2. Bits are there for a reason
I must have striped like 5 nails because the bit did not quite fit and I didn't relaize that until like an hour later. Make sure your bit fits snuggly into the nail. It will save alot of headache.
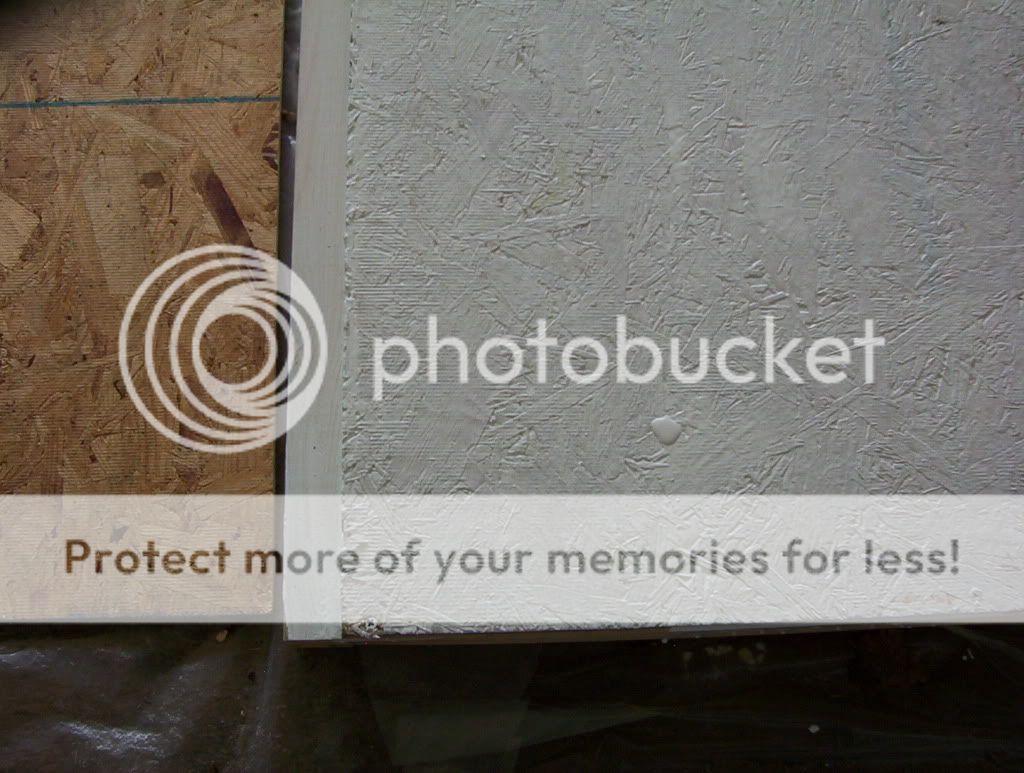
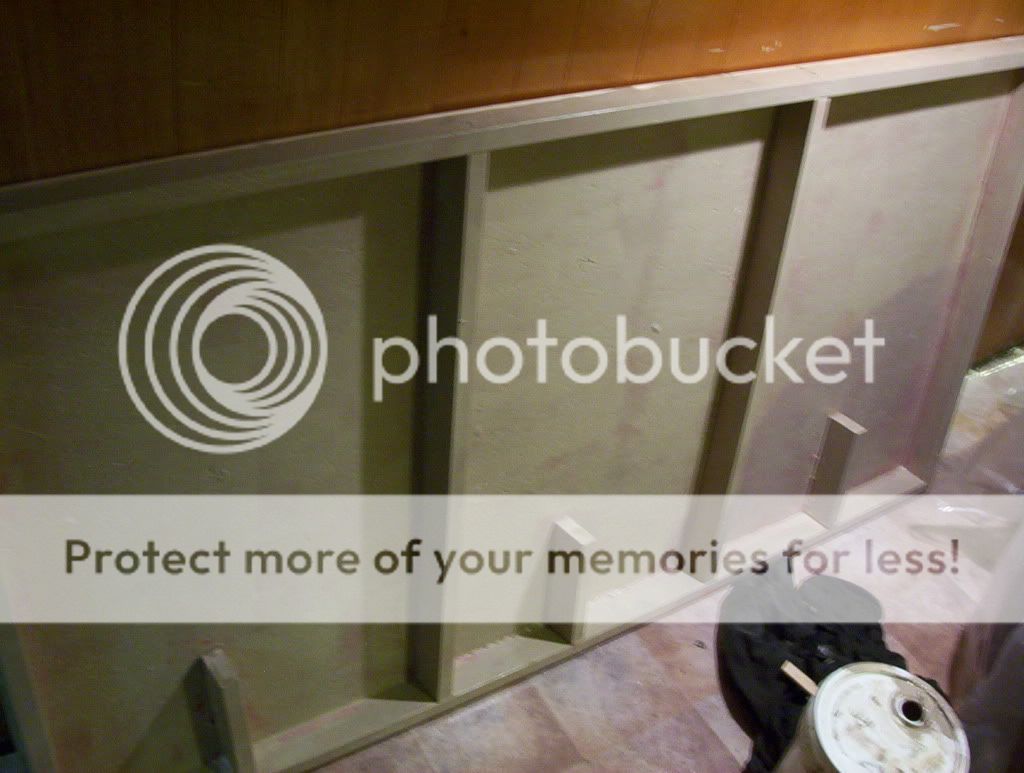
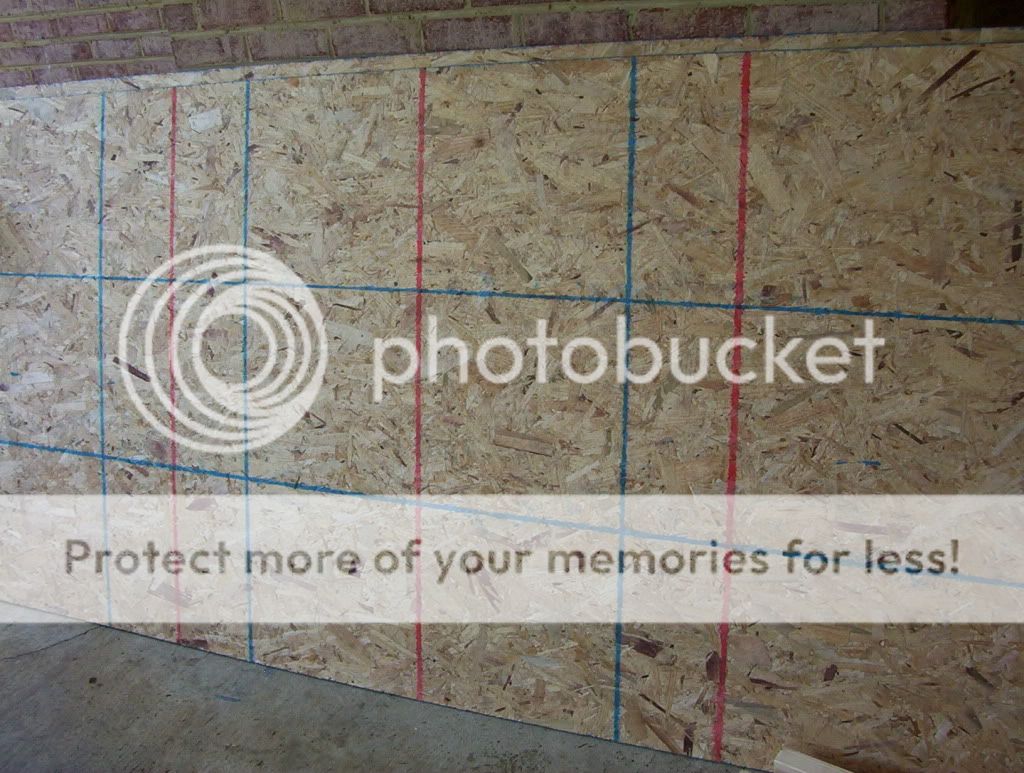
3.Take into consideration the thickness of the wood.
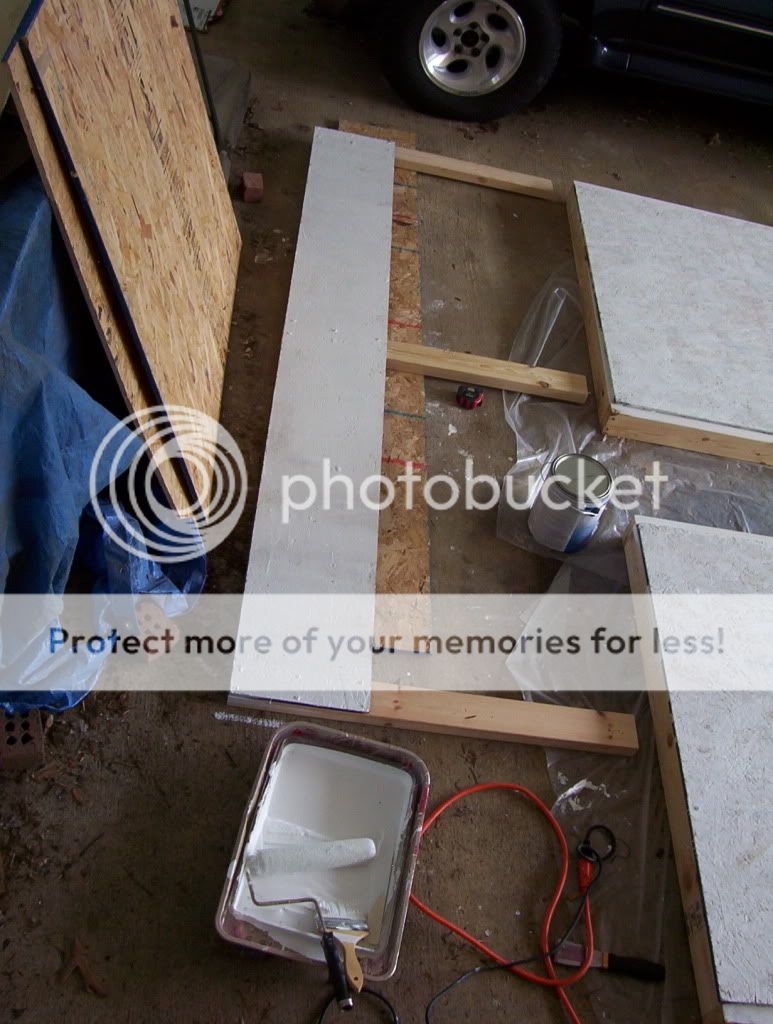
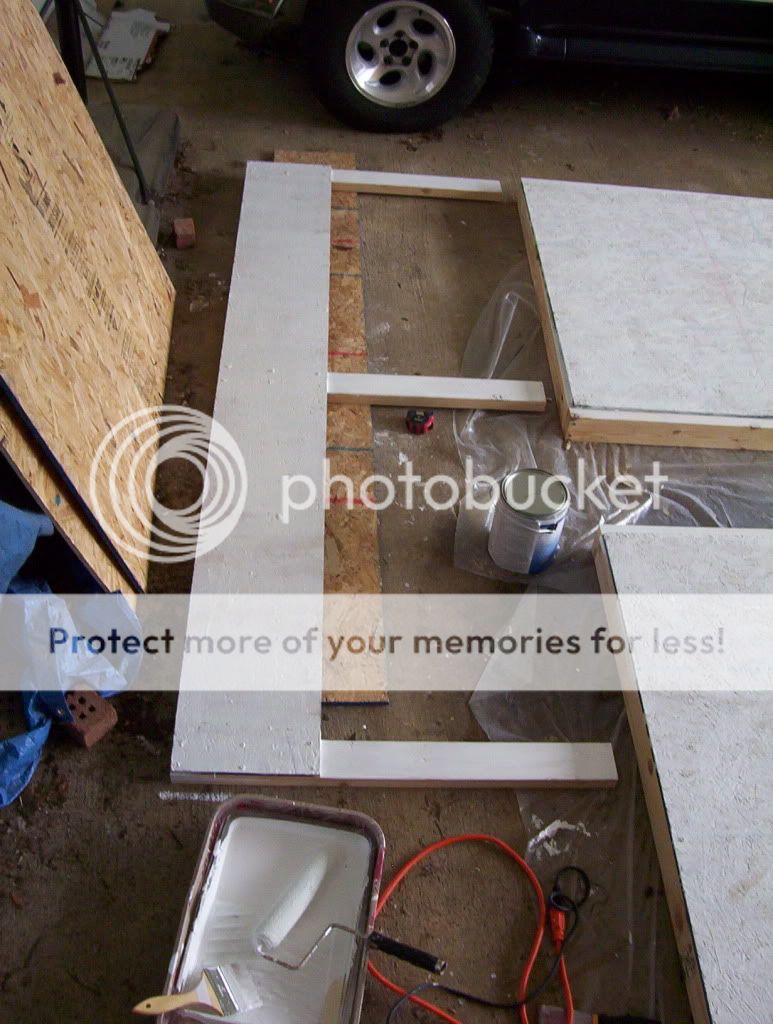
We all make mistakes right? I mean you can't learn unless you make mistakes. My board(as you can see above) did not fit completely on the 2x4's because of me. It still works close enough I just have to glob silicone in some places. But that's something to think about.
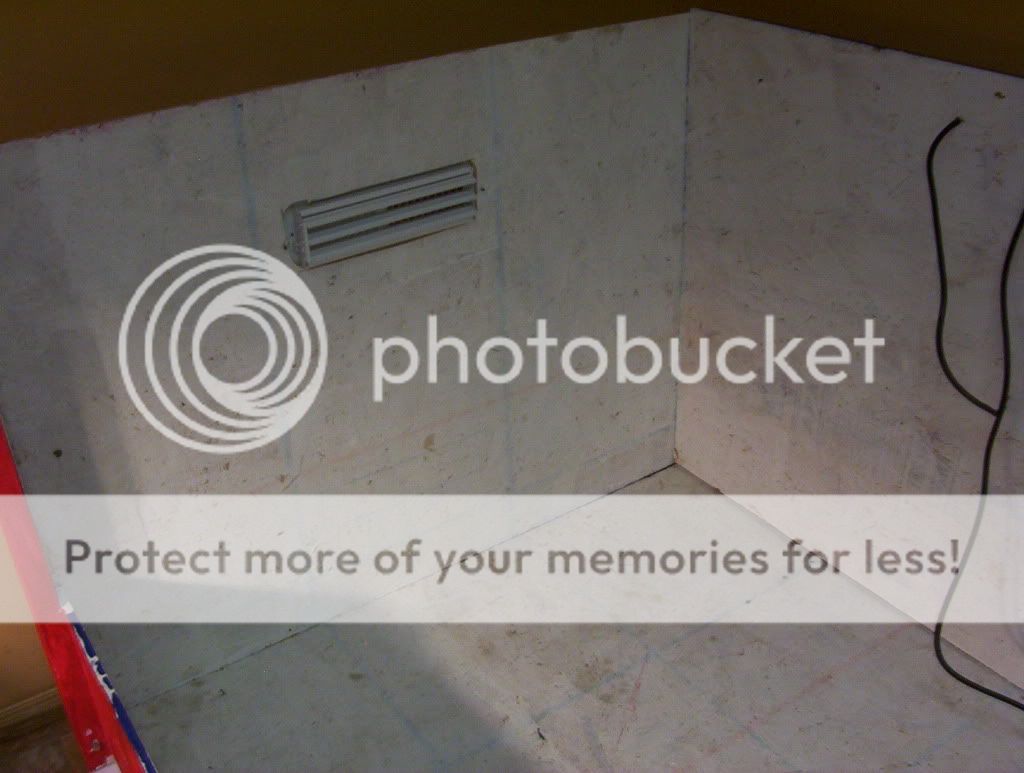
I will be refering to the pieces as numbers to make things easier for me. They will be as followed.
(1)Floor
(2)roof/top
(3)back panel
(4)front panel
(5)left side panel
(6)right side panel
Please ask any questions and leave any advice. This is my first time doing this so I need the help.
Now for the picture
A couple things I learned today...
1. Take weather into account
I was working at about mid day which was exausting(hot!). Don't kill yourself and work in the mornings and evenings.
2. Bits are there for a reason
I must have striped like 5 nails because the bit did not quite fit and I didn't relaize that until like an hour later. Make sure your bit fits snuggly into the nail. It will save alot of headache.
3.Take into consideration the thickness of the wood.
We all make mistakes right? I mean you can't learn unless you make mistakes. My board(as you can see above) did not fit completely on the 2x4's because of me. It still works close enough I just have to glob silicone in some places. But that's something to think about.
") . Good luck with the rest of the enclosure. Hey at least it didn't rain on you
. Good luck with the rest of the enclosure. Hey at least it didn't rain on you